
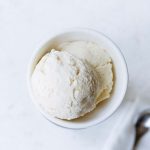
Homemade vanilla ice cream is the ultimate in decadence. And guess what? You don’t need any special equipment to prepare this rich and creamy no-churn version. It’s also egg-free, which means you don’t need to prepare a custard. You basically whisk everything together, stick it in the freezer, and give it an occasional stir. In no time, you’ll be enjoying an amazing ice cream, made with only 4 ingredients!

I share a lot of homemade ice cream recipes, and one of the most frequent questions I get is “how can I make this without a machine?”
If you’re not making ice cream from scratch on a regular basis, I understand why it might seem silly to buy another gadget that could wind up collecting dust in the corner. We all have at least one of those.
I have good news! You can prepare any of my ice cream recipes without a machine following the freeze and stir method below. However, this particular no-churn ice cream recipe is very different than what I typically share; it’s not custard-based. There are no eggs involved.
This is the easiest ice cream recipe you’ll ever make, and it’s great for beginners. At the end of the day, I personally prefer custard-based ice creams (nothing adds richness quite like egg yolks), but this is a worthy substitute and I certainly enjoyed my fair share of it!
Recipe Ingredients
- Sweetened condensed milk
- Evaporated milk
- Vanilla extract
- Heavy cream
How to make homemade vanilla ice cream without a machine
This vanilla ice cream recipe is all about freezing while stirring at regular intervals, which keeps the ice crystals from turning into a solid block while freezing.
You’ll find many no-churn ice cream recipes online, and in my opinion most of them are cloyingly sweet and over-the-top rich. I say this as someone with a major sweet tooth.
The base is typically sweetened condensed milk and whipped cream, which is what I’ve used. However, I cut the sweetness and heaviness with evaporated milk. In addition to reducing the sugar, evaporated milk adds a touch of maltiness that I love.
Step 1: Combine sweetened condensed milk, evaporated milk and vanilla
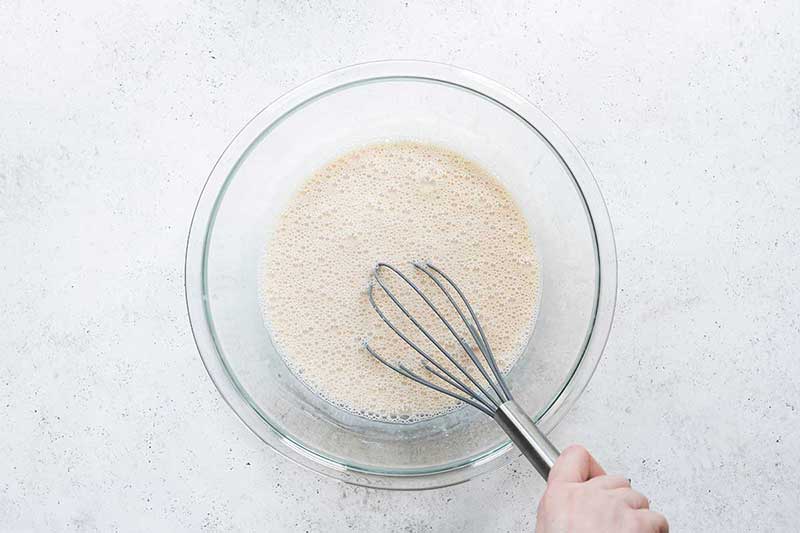
Start by whisking the condensed milk, evaporated milk, vanilla, and a bit of salt together in a large bowl. Get it nice and frothy.
Step 2: Fold in whipped cream
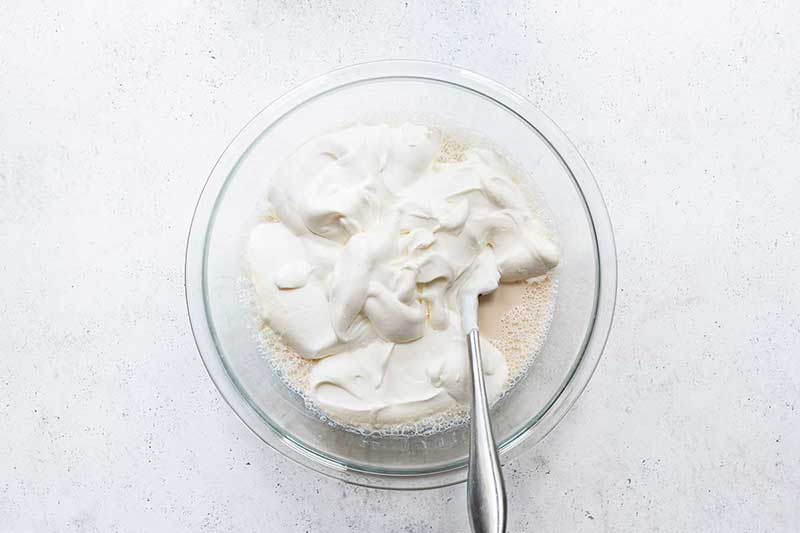
In a separate bowl, whip the heavy cream until you get stiff peaks (you can do this with a whisk, an electric hand mixer, or with a stand mixer.)
Tip: Make sure not to over-whip the cream! See my post on how to make perfect whipped cream for more info.
Gently fold the ingredients together, taking care not to deflate the cream since this is what gives the ice cream its fluffiness and bulk in place of the custard.
Step 3: Freeze and stir
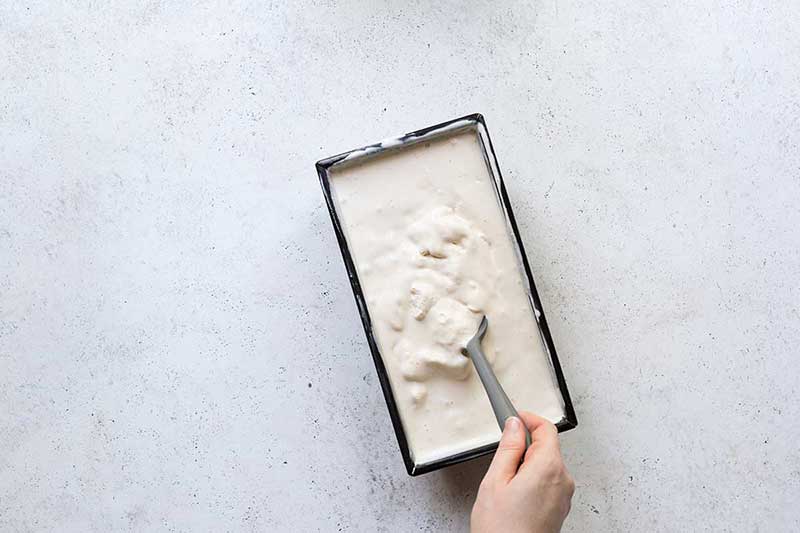
Pour the mixture into a loaf pan (or a container with a minimum capacity of 8 cups), cover, and place in the freezer. Stir every 45 minutes, making sure to scrape along the sides, until the mixture is frozen but scoopable.
This will take around 5-6 hours, making this a good lazy weekend activity.
Recipe Tips
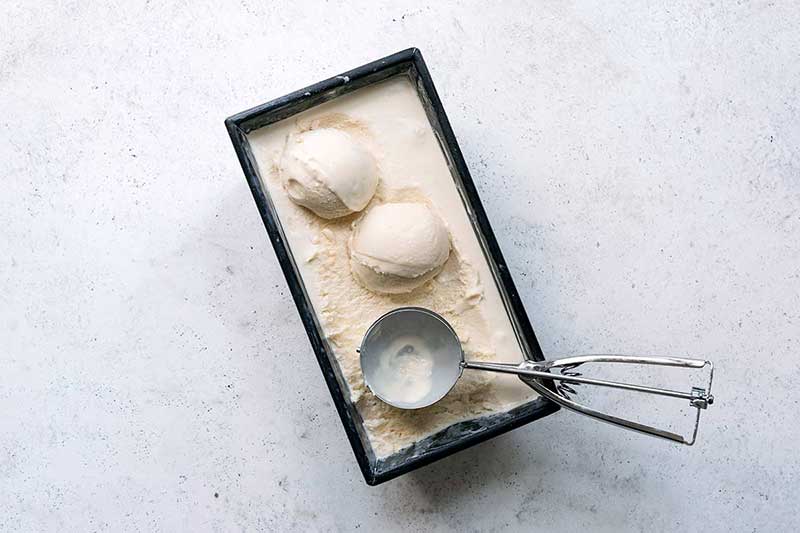
After the ice cream has been sitting untouched in the freezer for a few hours (post-stirring), it will firm up slightly more than a custard-based ice cream. Before serving, let it sit for a couple minutes on the counter and/or run your ice cream scoop under hot water.
Adding 2 teaspoons of vodka to the recipe along with the other liquid ingredients can also help keep the texture more scoopable, since alcohol lowers the freezing point. I promise you can’t taste the vodka.
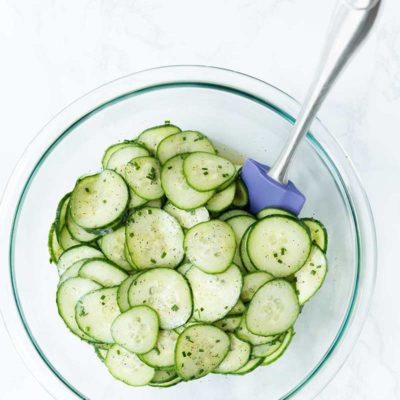
You can add optional extras like chopped cookies or peanut butter cups (or whatever you like). I’d aim for around 2-3 cups of chopped ingredients, but eyeball out what looks right to you. Wait until the ice cream has been chilling for at least 2-3 hours before adding extras, otherwise they’ll sink to the bottom. As you can see from the photos, this filled my 9×5-inch loaf pan to the top, so you’ll want to use a larger pan or divide the ingredients between two pans in you add extras.
More Ice Cream Recipes
Want to try this technique with some of my custard-based ice creams? A few of my favorites include mint chocolate chip ice cream, buttermilk ice cream, Bailey’s ice cream, and cookies and mascarpone cream. I also love this Vietnamese Iced Coffee Ice Cream from Love and Olive Oil!
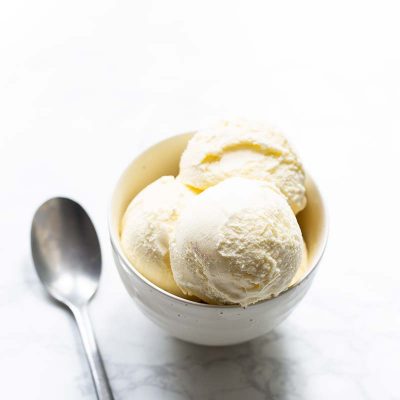
Homemade Vanilla Ice Cream
Ingredients
- 1 (14-ounce) can sweetened condensed milk
- 1 (12-ounce) can evaporated milk
- 2 tablespoons pure vanilla extract, or seeds from 2 vanilla beans
- 1/4 teaspoon kosher salt
- 2 cups (473 ml) heavy cream, cold
- See notes about optional add-ins
Instructions
- Whisk together the sweetened condensed milk, evaporated vanilla and salt in a large bowl; set aside.
- Using a bowl and whisk, electric mixer or stand mixer with the whisk attachment, whip the cream until stiff peaks form. Be careful not to over-whip the cream or it will lose its smooth, shiny appearance.
- Mix 1 cup of the whipped cream into the liquid mixture with a rubber spatula until combined, then gently fold the lightened mixture into the whipped cream until evenly combined.
- Pour into a chilled 9x5 loaf pan (or any pan with a minimum 8 cup capacity), cover, and place in the freezer. Stir every 45 minutes, making sure to scrape around the edges of the pan since that’s the area that will freeze first. Ice cream should be solid and scoopable after around 5-6 hours.
Notes
You can add optional extras like chopped Oreos. Wait until the ice cream has been chilling for at least 2-3 hours before adding extras, otherwise they’ll sink. As you can see, this filled my loaf pan to the top, so you’ll want to use a larger pan or divide the ingredients between two pans.
This stirring technique will also work with custard-based ice creams. Cover, freeze, and stir every 30-45 minutes until scoopable.
Please read my full post for additional recipe notes, tips, and serving suggestions!
Nutrition
Recipe Troubleshooting
For immediate help troubleshooting a recipe, please email me using the form on my contact page. I’ll try to respond to urgent questions as quickly as possible! For all general questions, please leave a comment here :)


Thank you for this!!! We’ve been wanting to try homemade ice cream without having to invest in a machine. Nothing like classic vanilla.
Oh yum! This really sounds like an amazing recipe and l like your addition of the evaporated milk.
I love making ice cream in the summer especially, and who can say no to a bowl of ice cream especially home made.
I do own an ice cream machine similar to yours. Can l use it for this recipe. Since l have it, it would only make sense for me to let the machine do the work, l’m just not sure if the beaters would deflate the mixture and ruin the final texture.
That’s an interesting thought about potentially deflating the whipped cream. I think it would be ok since the machines usually chill the mixture quickly, but to be safe, you could freeze it for 30-45 minutes before adding it to the ice cream maker to give the whipped cream a chance to firm up slightly.
We love plain vanilla ice cream. There’s always ways to dress it up, but real vanilla is my husband’s favorite. Being without an ice cream machine, this is perfect! Thank you!
I can’t even believe that I haven’t made one ice cream recipe this year. I’m going to fix that by making your homemade vanilla ice cream recipe tomorrow for labor day. Better late than never, right?
This looks really good!! Such an awesome summer treat!
I love not needing a fancy machine to make this!
Wow this was so easy!
Can’t wait to try this recipe, I know my family will love it!
I was looking for a simple homemade vanilla ice cream recipe and found this. It’s so good!
I just made this and it was so decadent. Very easy to do and next time I will add in my fresh peach slices part way through the freezing process. I have been waiting to find such an easy yet satisfying recipe and eliminate my ice cream machine.
Great detailed instructions! I love that I don’t need a fancy ice cream maker to make creamy vanilla ice cream!
My kids loved this! Thank you!